
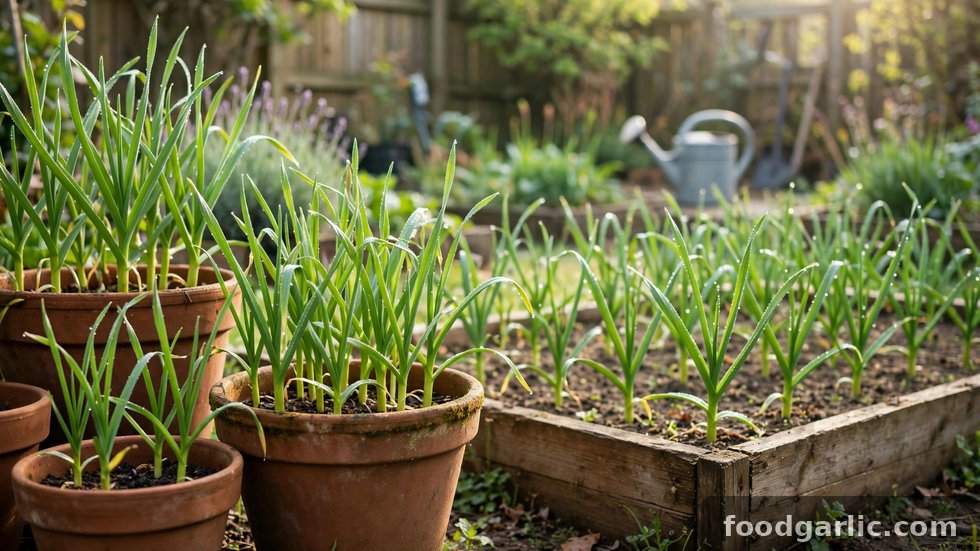
There is something deeply satisfying about pulling up a head of garlic you grew yourself — plump, fragrant, and free. The good news is that garlic is one of the easiest crops for beginners, and it thrives in pots on a balcony just as well as in garden beds.
This guide covers everything from choosing the right garlic type and planting cloves at the correct depth to watering, harvesting, and curing your crop so it stores for months.
- Choosing Your Garlic Type
- When and Where to Plant
- Planting Step by Step
- Growing in Pots
- Care Through the Season
- Harvesting and Curing
- Frequently Asked Questions
Choosing Your Garlic Type
Garlic comes in two main types, and the choice matters for your climate.
Hardneck garlic
Hardneck varieties produce a stiff central stalk (the scape) and fewer, larger cloves. They need a period of cold winter weather to form bulbs properly, making them ideal for cooler climates. Their flavor is often described as bolder and more complex.
Softneck garlic
Softneck varieties lack the central stalk, produce more cloves per head, and store longer — often 6–9 months. They tolerate milder winters and are the type most commonly sold in supermarkets. If you live somewhere warm, softneck is your safer bet.
Buy seed garlic from a garden supplier rather than planting supermarket heads, which may carry disease or be treated to prevent sprouting. One head typically yields 6–10 new heads.
When and Where to Plant
Garlic is planted in the fall, 4–6 weeks before the ground freezes. The cloves establish roots before winter, go dormant in the cold, and surge into growth in spring. In mild climates without hard frost, plant in late fall or early winter.
Choose a spot with full sun — at least 6 hours daily — and well-draining soil. Garlic hates wet feet; in heavy clay, plant in raised beds or mounds. Aim for soil pH between 6.0 and 7.0, and work in compost before planting for the nutrients garlic needs.
Planting Step by Step
Planting garlic takes minutes. Here is the exact method:
- Break the heads into individual cloves the day before planting, keeping the papery skin on each clove.
- Select the biggest cloves for planting — larger cloves grow larger heads.
- Plant pointy-end up, 5 cm (2 inches) deep and 15 cm (6 inches) apart, in rows 25–30 cm apart.
- Cover with mulch — 8–10 cm of straw or shredded leaves insulates against winter cold and suppresses weeds.
- Water well after planting to settle the soil around the cloves.
If you are late and the ground is already cold, plant anyway — garlic is forgiving. The main risk of late planting is smaller heads, not failure.
Growing in Pots
No garden? Garlic adapts beautifully to containers. Use a pot at least 20 cm (8 inches) deep with drainage holes — a wide pot or trough lets you plant several cloves.
Fill with a quality potting mix blended with compost. Plant cloves 5 cm deep and 10–12 cm apart (slightly tighter than in the ground is fine). Water thoroughly, then keep the soil evenly moist but never soggy.
Place the pot in the sunniest spot you have. In very cold regions, move pots against a sheltered wall or insulate them — roots in containers freeze harder than roots in the ground. Feed with a balanced liquid fertilizer every 3–4 weeks in spring.
Care Through the Season
Once spring arrives, garlic mostly takes care of itself — with a few tasks that make the difference between good and great heads.
- Watering: keep soil moist in spring; reduce watering as harvest nears so the outer skins dry properly.
- Weeding: garlic competes poorly with weeds. Keep the bed clean, especially in the first months.
- Cut the scapes: on hardneck garlic, snap off the curly flower stalks when they make one full curl. This redirects energy into the bulb — and scapes are delicious sautéed.
- Feeding: a side-dressing of compost or balanced fertilizer in early spring supports bulb growth.
- Stop watering 2–3 weeks before harvest to let the bulbs cure in the ground.
Harvesting and Curing
Harvest when the lower 2–3 leaves turn brown but 5–6 green leaves remain — those green leaves become the protective wrappers around the bulb. Digging too late gives split, poorly storing heads.
Loosen the soil with a fork and lift the bulbs gently; do not yank the stalks. Shake off loose dirt but do not wash the heads.
Curing is essential for storage. Hang the plants in bundles or lay them on racks in a warm, dry, well-ventilated spot out of direct sun for 2–4 weeks. Once the necks are dry and papery, trim roots, cut stalks to 2–3 cm, and store in a cool, dry place with good airflow.
Properly cured softneck garlic keeps 6–9 months; hardneck keeps 3–5 months. Save your biggest heads for replanting next fall and the cycle continues.
Frequently Asked Questions
Can I plant garlic from the grocery store?
You can, but it is not ideal. Supermarket garlic may carry soil diseases and is sometimes treated with sprout inhibitors. Certified disease-free seed garlic from a garden supplier gives far more reliable results.
How long does garlic take to grow?
Garlic planted in fall is typically harvested 8–9 months later, in early to midsummer. The exact timing depends on your climate and variety — watch the leaves, not the calendar.
Why is my garlic only producing small bulbs?
The most common causes are planting small cloves, planting too late, too little sun, weed competition, or harvesting too early. Plant the largest cloves in full sun and leave the scapes’ energy for the bulb by cutting them promptly.
Do I need to water garlic in winter?
Usually not. Winter rain or snow is enough; garlic is dormant. Resume watering in spring when green shoots are actively growing, and stop again a few weeks before harvest.
1 thought on “How to Grow Garlic at Home in Pots or Garden Beds”